In the last post we looked at centralised cryptocurrency exchanges, such as Binance and Coinbase, and examined some of the benefits and drawbacks of transferring your assets onto a centralised trading platform. In short, the main advantages of centralised exchanges are that they are user-friendly and offer a range of additional services and functionality, but at the expense of a certain amount of security and control.
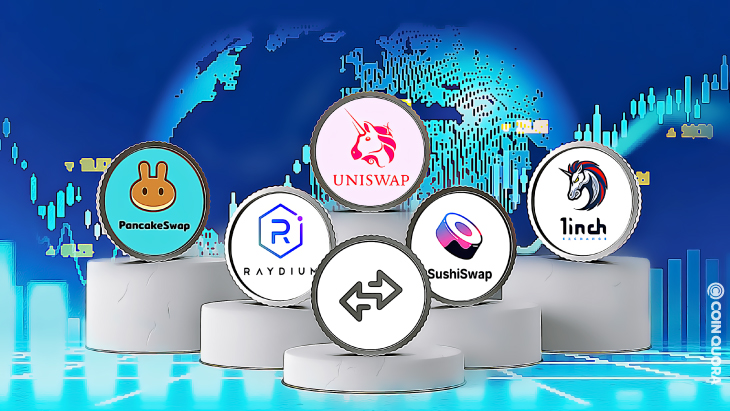
The alternative is to connect your wallet to a decentralised exchange (DEX) and transact directly peer to peer, and this is what we’ll be looking at today.
Advantages of decentralised exchanges
Essentially, decentralised exchanges are simply a set of programs stored on a blockchain that run when predetermined conditions are met, known as smart contracts. They establish the prices of various cryptocurrencies against each other algorithmically, and use “liquidity pools” — in which investors lock funds in exchange for interest-like rewards — to facilitate trades.
The first thing to note about DEXs is that they fulfill one of crypto’s core possibilities as outlined by Satoshi in the original BTC Whitepaper – trustless, instantaneous, peer-to-peer financial transactions that aren’t officiated (or taken a cut from) by banks, brokers, or any other intermediary. As such, DeFi (decentralised finance) offers us a glimpse of a freer, fairer, and ultimately more accessible financial infrastructure. Anyone with a smartphone and an internet connection can trade on a DEX. Perhaps unsurprisingly, such platforms (and crypto in general) are increasingly unpopular with Wall Street executives and many high-ranking politicians. For this reason alone, I believe they should be celebrated and supported.
That’s not the only reason to use DEXs, though. Because the funds ostensibly remain ‘stored’ on the traders’ own wallets, they are less susceptible to a security breach. Furthermore, DEXs support a far wider range of coins and tokens, so if you’re looking for a hot token in its infancy the DEXs are the place to look. Of course, buyer beware is advised here, with the vast array of unvetted tokens available on most DEXs, there are also a greater number of scams and schemes to be wary of. DYOR, and all that.
Getting started
It’s important to note that DEXs don’t generally offer an on-ramp to crypto, so in order to start trading on most DEXs, you’ll need some coins or tokens to trade, and a supply of Etherium (ETH) to cover transaction (‘gas’) fees. You can buy your ETH from a centralised exchange such as Coinbase. Once you have that, it’s time to connect your MetaMask wallet to the DEX. You’ll also need some cryptocurrency to swap on the exchange, as you can’t swap fiat for crypto on a DEX. You can, however, swap stablecoins such as BUSD and USDT (but probably not UST for obvious reasons) for other coins and tokens, so feel free to load up on some of those and then head over to the DEX to start trading.
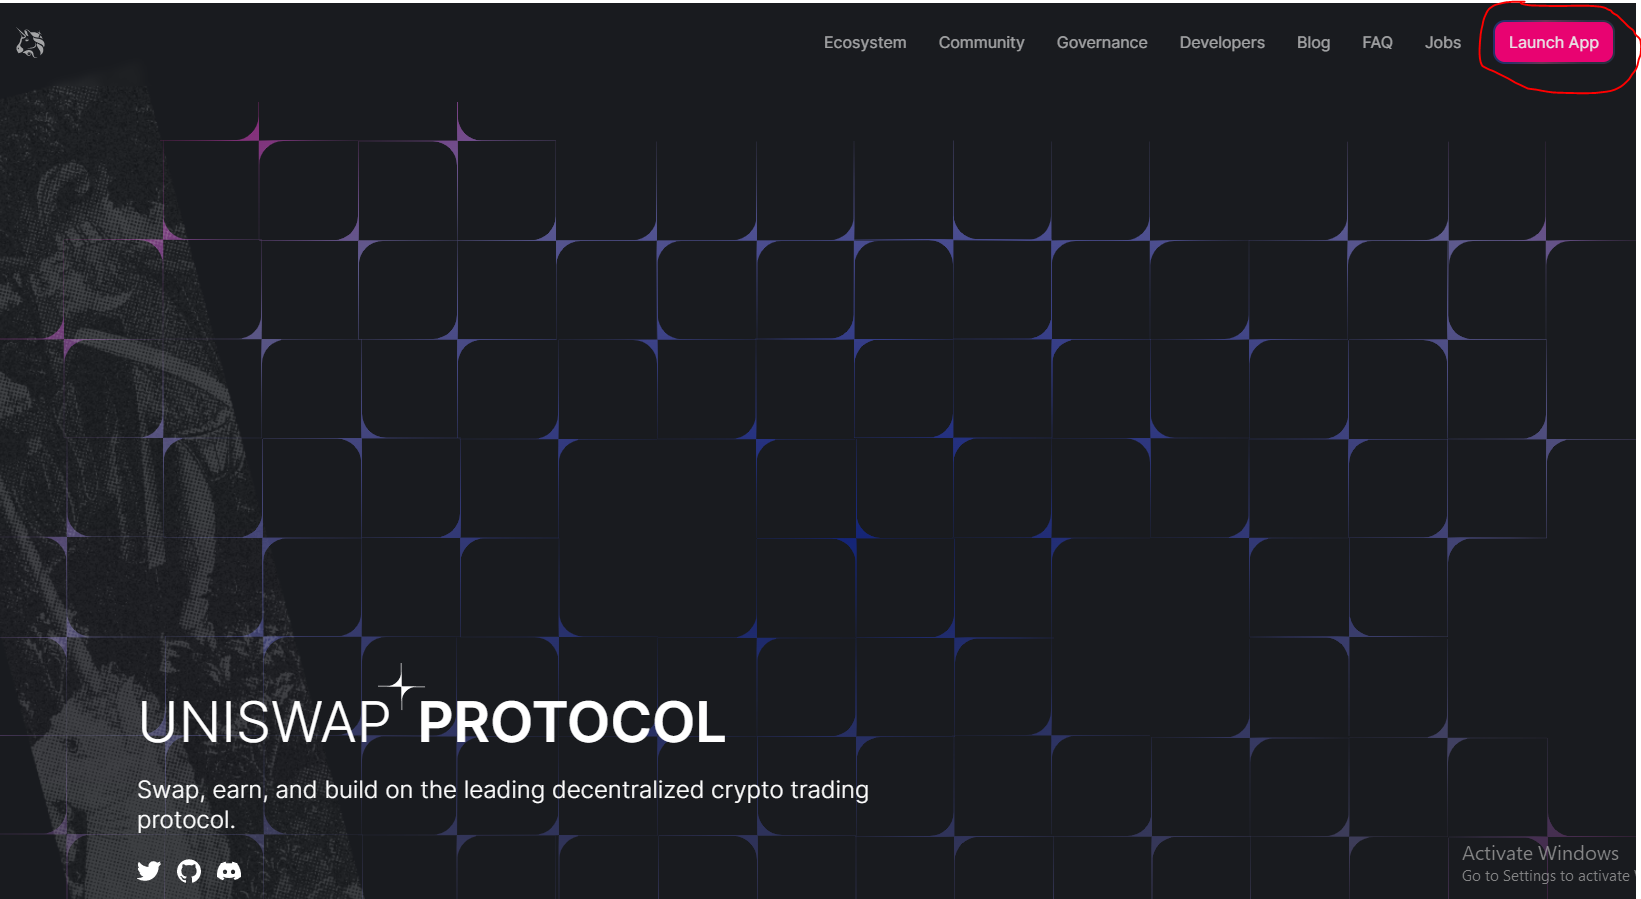
On a PC, the easiest way to do this is to simply visit the website, such as the Uniswap site here, and click Launch App in the top-right of the screen.
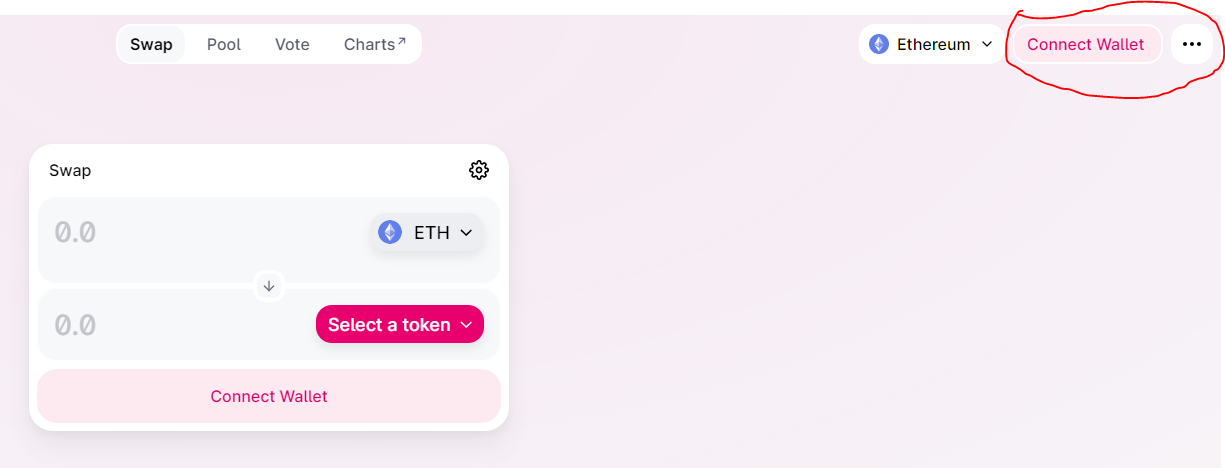
You will land on the Swap window with tabs such as Pool, Vote, and Charts.
Click Connect Wallet in the top-right of the screen.
From the pop-up, select MetaMask

Once you have selected the MetaMask wallet, a MetaMask pop-up will open up.
Now, you need to select your MetaMask account.
If you only have only one account, ensure that is selected and click Next.

This allows the site (in this case Uniswap) to see the wallet balance, view activity, and send requests for transactions. But it cannot move funds without your knowledge.
Click Connect.

You have successfully connected your MetaMask wallet to the DEX.
On Uniswap, you can now view your partial wallet address in the top right corner of the webpage.

The word ETH to the left of the address confirms that you are now ready to trade on the Etherium blockchain network. This is important to note, because not all coins and tokens are traded on the same network, and to buy other coins you may need to connect to a different network and even a different exchange.
That out the way, select the token that you want to swap.
In the second field, click Select a Token and then select the token that you want to swap for.
Lastly, click Swap.
A confirmation pop-up will come from your MetaMask wallet.
Click Confirm.
Connecting your MetaMask Wallet to other networks
When you trade coins and tokens through a DEX, the crypto received comes from the wallet of another user and the exchange takes place on the blockchain supporting the DEX. Uniswap, for example, is built on the Ethereum blockchain and allows users to trade and swap ERC-20 tokens (an Ethereum standard) such as Shiba Inu (SHIB), Decentraland (MANA), Enjin (ENJ) and several others.
However, it does not support non-ERC-20 tokens such as Bitcoin (BTC), Dogecoin (DOGE), Cardano (ADA), etc.
Let’s say you want to buy some tokens on the Avalanche network. AVAX is the native token of the Avalanche ecosystem, and is built on the Avalanche blockchain. Therefore, you can buy and sell it on an exchange which is built on that network, for example TraderJoexyz. You’ll also need to ensure the Avalanche C-Chain Network is installed on your Metamask wallet, as follows:
Step 1. Log into your Metamask wallet and click on the menu button (three lines in the top left of your screen on mobile).
*On Desktop, you can skip to Step 3 once you’re logged into your wallet.
Step 2. Select Settings
Step 3. Click on Networks
Step 4. Click on the ‘Add Network’ button on the bottom
Step 5. Fill in the following information:
- Network Name : Avalanche Network
- New RPC URL : https://api.avax.network/ext/bc/C/rpc
- Chain ID : 43114
- Currency Symbol (optional): AVAX
- Block Explorer URL (optional): https://snowtrace.io/
Click Add
You have added Avalanche C-Chain to your MetaMask wallet.
Please Note: You will need AVAX in your wallet to pay for transaction fees.
You can purchase and send AVAX to your wallet from Binance, Kucoin, or any other CEX that supports Avalanche.
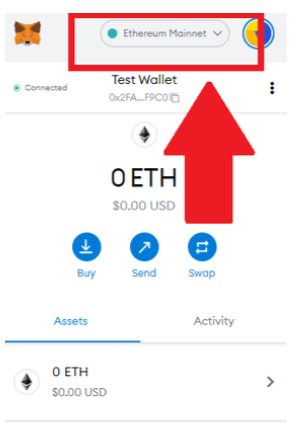
Next, you’ll want to ensure your wallet is connected to the new Avalanche network. When you open your MetaMask wallet, you will be able to see your current network at the top of the display. You can click on the down arrow next to where your current network is mentioned.
After dropping down, you will see a list of different available networks including any you have installed. Select Avalanche Network.

Now you’re ready to head over to TraderJoe and start trading on the Avalanche network.
The process here is essentially the same, click Connect to a Wallet in the top-right of the screen.

Accept the connection on your MetaMask pop-up.
Then click “Trade” to go to the transaction section. Set the number of token pairs you want to trade.

Select the type of token you want to swap right below the Balanced section. Enter the quantity or press “max” in the “From” section, the system will automatically calculate.
Finally, show quantity confirmation calculation, as below. Then click “Confirm Swap”.

Your MetaMask wallet will show the Swap Verification request as completed.
Congratulations, you are now the proud owner of some little-known token which will definitely go parabolic in the coming months, and you didn’t need to transfer your assets onto a centralised exchange nor employ any intermediary to administer the transaction for you. All that’s left to do now is choose the Lambo.
Choose wisely.